
Why a Post Winter HVAC Inspection What to Check is Essential
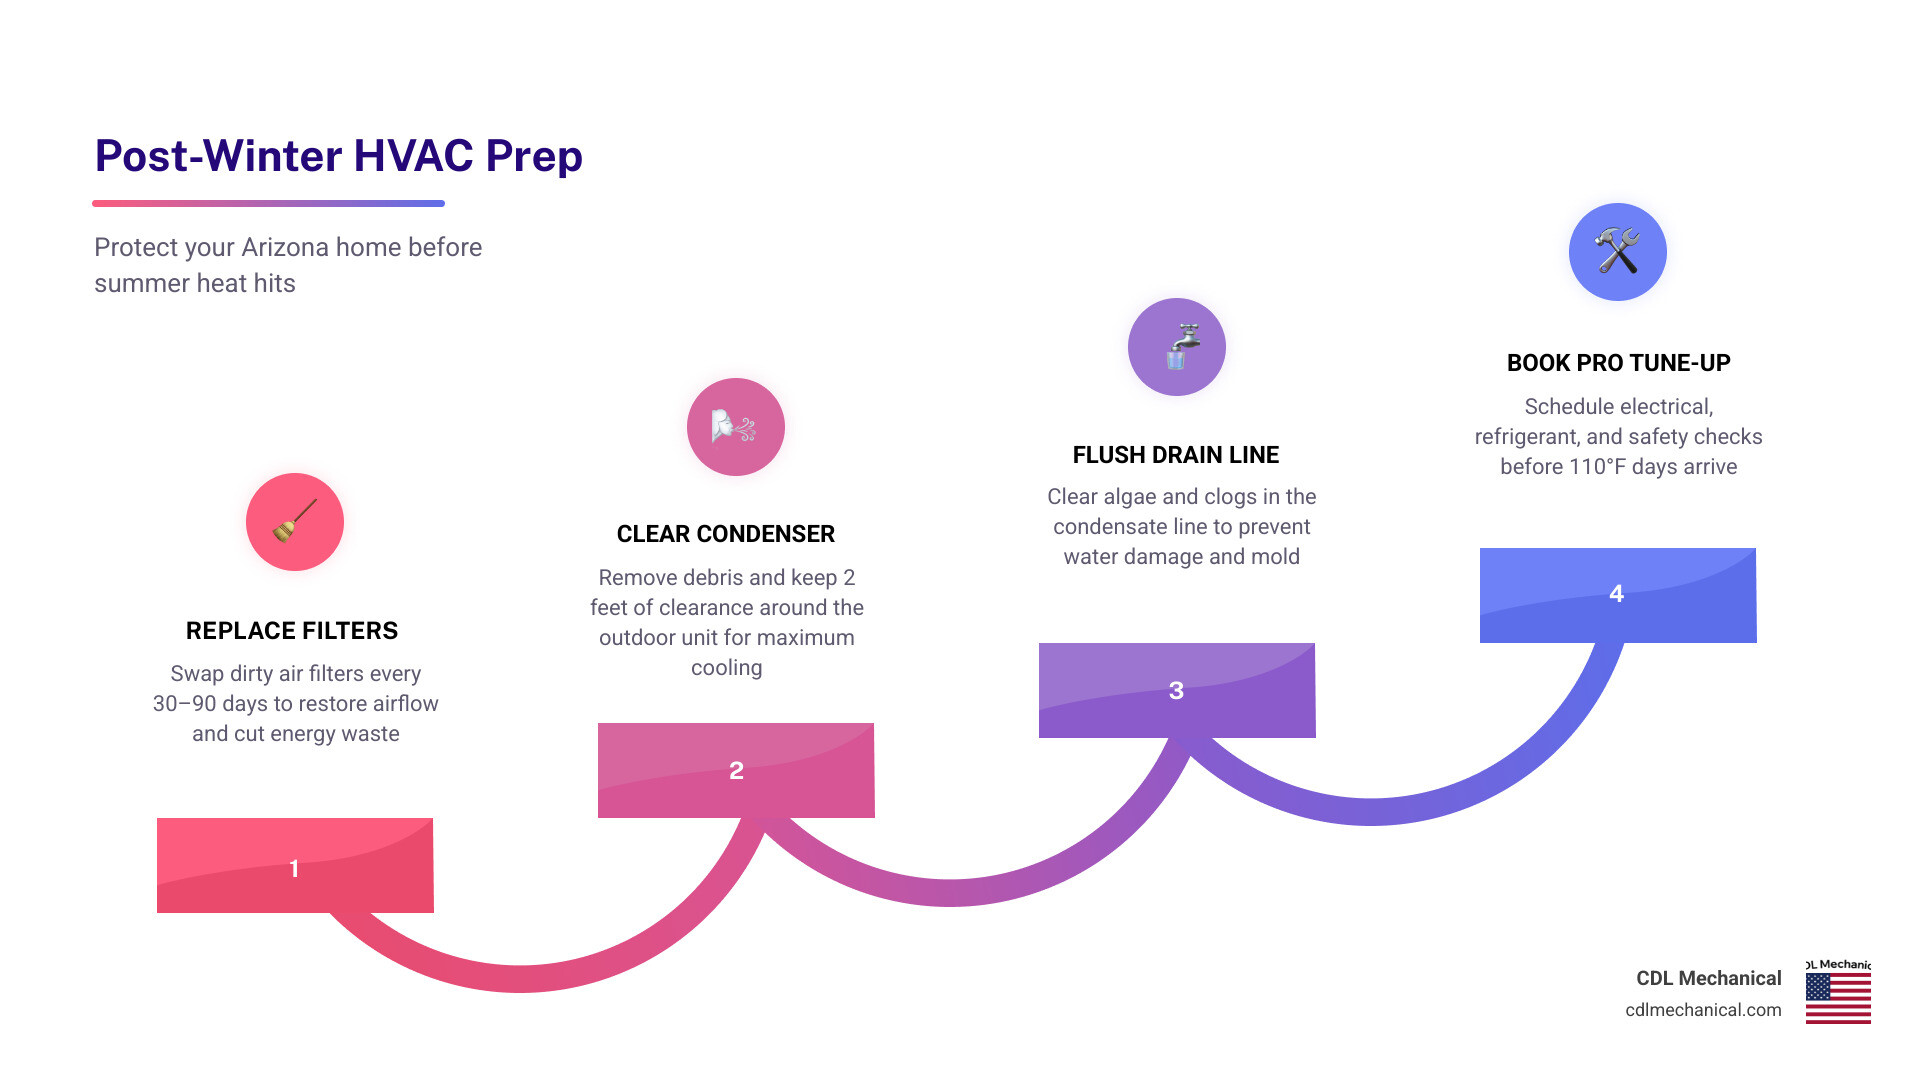
Knowing what a post winter HVAC inspection covers — and what to check before Arizona’s brutal summer heat arrives — could be the difference between a cool, comfortable home and an emergency breakdown in 110°F weather. Here’s a quick overview of what to inspect:
- Air filter – Replace if dirty or clogged (every 30–90 days)
- Outdoor condenser unit – Clear debris and maintain 2 feet of clearance
- Thermostat – Test in cooling mode and replace batteries
- Vents and ductwork – Check for blockages, leaks, and dust buildup
- Condensate drain line – Flush to clear algae or clogs
- Professional safety checks – Electrical connections, refrigerant levels, and heat exchanger inspection
Winter in the Phoenix metro area may be mild compared to the rest of the country, but your HVAC system still takes a beating — running the heater through cold desert nights, accumulating dust, and sitting idle while temperatures swing. By the time March rolls around, most Glendale homeowners are just weeks away from needing reliable air conditioning again. That window between the last cold snap and the first scorching afternoon is your best opportunity to catch small problems before they become expensive ones.
Heating and cooling already account for roughly 52% of a household’s annual energy use. A system that’s struggling after winter can quietly drain your wallet long before it fails completely — and in Glendale, failure rarely happens at a convenient time.
I’m Joshua Michael Bartlett, founder of CDL Mechanical and an HVAC professional with over 20 years of hands-on experience helping Arizona homeowners prepare their systems for the cooling season — including guiding them through exactly what a post winter HVAC inspection should cover. In the steps below, I’ll walk you through everything you need to check, from the filters to the refrigerant lines, so you’re ready before the heat hits.
Living in the Valley of the Sun means our relationship with our air conditioners is deeply personal. In Arizona, our cooling systems run an average of 2,800 hours annually — more than double the runtime of systems in milder climates. Because our equipment works so hard during the summer, skipping a spring transition check is like entering a marathon without stretching.
As we transition into May 2026, the mild winter nights are officially behind us, and the extreme desert heat is settling in. A thorough post-winter inspection does three critical things:
- Prevents Summer Breakdowns: Most HVAC systems fail on the hottest days of the year. Why? Because accumulated winter wear, weak capacitors, or low refrigerant levels finally give out under the heavy load of a 115°F afternoon. Catching these issues in March or April prevents a sweaty emergency call in July.
- Lowers Energy Bills: When dirt, clogged filters, or leaky ducts force your system to work harder, it consumes significantly more power. Keeping your system clean and calibrated can lower your utility bills by up to 30%.
- Extends Equipment Lifespan: Regular maintenance can help heating and cooling systems last up to 40% longer, adding 6 to 8 years of life to your equipment.
By taking the time to understand what to check during a post-winter inspection, you protect your wallet and your home’s comfort. For a deeper look at how routine upkeep keeps your system running smoothly, check out the 5 Benefits of Routine AC Maintenance.
Essential DIY Steps: Filters, Condensers, and Thermostats

While some parts of an HVAC inspection require professional tools and certifications, there are several high-impact tasks you can easily handle yourself. Taking a proactive, hands-on approach to your system’s basic needs ensures it has a clean foundation before the heavy cooling season begins.
Before diving into these tasks, assemble a simple DIY HVAC maintenance toolkit:
- A fresh, high-quality pleated air filter
- A screwdriver or nut driver (for vent covers or thermostat faceplates)
- A soft-bristled brush or hand vacuum
- A standard garden hose with a spray nozzle (never use a pressure washer!)
- A gallon of plain white distilled vinegar
- Fresh AA or AAA batteries
By keeping these basic tools on hand, you can confidently navigate the fundamentals of HVAC Maintenance 101 for Every Homeowner.
Air Filter Replacement: A Key Post Winter HVAC Inspection What to Check Step
Replacing your air filter is the single most important maintenance task you can perform. During the winter, your home’s air filter quietly traps dust, pet dander, pollen, and airborne debris. If left unchanged, a dirty filter chokes your system’s airflow, forcing the blower motor to work up to 15% harder and potentially causing the indoor evaporator coil to freeze.
When selecting a filter, pay close attention to the Minimum Efficiency Reporting Value (MERV) rating:
| Filter Type | MERV Rating | Best For | Replacement Frequency |
|---|---|---|---|
| Basic Fiberglass | MERV 1–4 | Catching large lint and dust particles; poor filtration. | Every 30 days |
| Standard Pleated | MERV 8 | Average homes, catching dust mites, mold spores, and pollen. | Every 60–90 days |
| High-Efficiency Pleated | MERV 11 | Homes with shedding pets or mild allergy sufferers. | Every 30–60 days |
| Premium Allergen | MERV 13 | Asthma sufferers, severe allergies, or wildfire smoke protection. | Every 30–45 days |
In our dusty desert climate, standard recommendations don’t always tell the whole story. If you live in high-dust areas like Buckeye or Queen Creek, or if you have multiple pets, you should check your filter every 30 days. A simple way to test your filter is to hold it up to a bright light. If light cannot pass through the pleats, it is time for a replacement.
Clearing the Outdoor Condenser and Testing the Thermostat
Your outdoor condenser unit is responsible for releasing the heat captured from inside your home. Over the winter, desert winds, dead leaves, and debris can accumulate around the base of the unit, blocking essential airflow.
Start by clearing a two-foot perimeter around the entire condenser. Cut back any overgrown desert landscaping, weeds, or bushes. Next, check the aluminum fins on the unit. If they are covered in a layer of winter dust, gently rinse them down with a garden hose, spraying from the inside out to push dirt away from the coils. Never use a pressure washer, as the high pressure will instantly bend the delicate aluminum fins and restrict airflow.
Once the outdoor unit is clean, head inside to test your thermostat. If you have an older digital model, replace the batteries now to prevent a sudden system shutdown in the middle of summer. Switch the thermostat over to “Cool” mode and set the temperature five degrees below the current room temperature. Listen closely for the indoor blower and the outdoor compressor to kick on. If you are interested in how seasonal adjustments differ across neighboring desert communities, read more about Heating Maintenance in Goodyear AZ.
Inspecting Indoor Airflow: Vents, Ductwork, and Drain Lines
Once the primary components are clean and tested, it is time to focus on how air actually moves through your home. Obstructions in your vents or leaks in your ductwork can quietly sabotage your comfort and spike your utility bills. If you want to ensure your heating and cooling systems are performing optimally across the West Valley, check out our guide on Heating Maintenance in Litchfield Park AZ.
Checking Vents and Ductwork for Leaks
Walk through every room in your home and make sure all supply vents and return grilles are completely open and unobstructed. It is a common myth that closing vents in unused rooms saves energy; in reality, closing vents increases static pressure inside your ductwork, which can damage your blower motor and lead to system short-cycling.
Next, inspect your visible ductwork in the attic or crawlspace if it is safe to do so. Look for:
- Visible gaps or disconnected joints in the duct runs.
- Dark, dusty smudges around duct seams, which indicate air leaks pulling in attic dust.
- Peeling or dried-out duct tape (which, ironically, is terrible for sealing ducts).
According to ENERGY STAR, the average home loses 20% to 30% of its conditioned air through duct leaks. If you find minor gaps, seal them using professional-grade metallic foil tape or mastic duct sealant rather than standard adhesive tape.
Flushing the Condensate Drain Line
As your air conditioner cools your home, it also dehumidifies the air. The moisture removed from the indoor air collects in a drain pan and flows outside through a condensate drain line. Over the winter, standing water in this line can grow algae, mold, and mildew, creating a thick sludge that eventually plugs the pipe.
A clogged condensate drain line will cause water to back up, potentially overflowing the drain pan and damaging your drywall, ceilings, or flooring. To prevent this:
- Locate the condensate drain T-pipe (usually near your indoor evaporator coil).
- Remove the cap and pour one cup of distilled white vinegar down the line.
- Let it sit for 30 minutes, then flush it with warm water.
This simple monthly step keeps the line clear of organic growth. If you ever find your system shutting down unexpectedly due to a tripped safety float switch caused by a backup, read our survival guide on What to Do When Your HVAC Breaks Down Unexpectedly.
When to Call the Pros: Safety and Performance Tune-Ups
While DIY steps are fantastic for monthly upkeep, there is a clear boundary between homeowner maintenance and tasks that require a professional technician’s expertise. Air conditioners are complex, high-voltage machines that handle pressurized chemical refrigerants. Attempting to service these components yourself can void your manufacturer’s warranty, damage the equipment, or pose severe safety risks.
A professional spring tune-up goes far deeper than a visual check. Technicians use specialized diagnostic equipment to measure system performance and catch hidden electrical or mechanical issues before they trigger a system failure. To see what a comprehensive professional visit entails, review our Spring AC Tune-Up Checklist.
Why Professional Calibration is Part of Your Post Winter HVAC Inspection What to Check Checklist
During a professional post-winter inspection, our certified technicians focus on critical safety and performance calibrations that keep your system running safely and efficiently:
- Tightening Electrical Connections: Loose electrical connections are responsible for up to 75% of HVAC system failures. Extreme temperature swings cause wires to expand and contract, which can loosen terminals over time. Technicians check and tighten all connections to prevent electrical shorts and component damage.
- Capacitor Testing: The capacitor is the “battery” that gives your compressor and fan motors the high-voltage boost they need to start up. Capacitors degrade over time, especially under the extreme heat of Glendale summers. Testing their microfarad output allows us to replace a weak capacitor before it dies and leaves you without cooling on a 110-degree afternoon.
- Refrigerant Charge Verification: Low refrigerant is never normal — it always indicates a leak. A professional technician will measure the superheat and subcooling of your system to ensure the refrigerant charge is exactly to manufacturer specifications. Proper refrigerant levels can improve cooling efficiency by up to 20% and protect your compressor from premature failure.
- Safety Device and Heat Exchanger Inspection: For gas heating systems, inspecting the heat exchanger for hairline cracks is a crucial safety step. A cracked heat exchanger can leak deadly carbon monoxide into your home’s airflow. We use specialized combustion analysis tools to verify your system is venting safely.
To learn more about how often these critical checks should be performed to protect your home and keep your manufacturer’s warranty valid, check out The Ultimate Guide to HVAC Service Frequency.
Frequently Asked Questions about Post-Winter HVAC Care
When is the best time to schedule a post-winter HVAC inspection in Arizona?
The “sweet spot” for scheduling your spring HVAC tune-up in Glendale and the surrounding Phoenix metro area is March or early April. During these months, temperatures are still comfortable, which means HVAC companies aren’t yet flooded with emergency “no-cool” calls.
Scheduling early gives you the pick of convenient appointment times. More importantly, if the technician discovers a part that needs to be ordered or a repair that needs to be made, you have a comfortable buffer period to get it resolved before the first major heatwave hits in May. It is also an excellent time to ensure your heating components are clean and safely shut down after winter; learn more about this transition on our Furnace Maintenance page.
What are the signs that my HVAC system was damaged during the winter?
Keep an eye and an ear out for these common warning signs that your system suffered stress or damage during the colder months:
- Unusual Noises: Banging, screeching, or rattling sounds when the system starts up usually point to loose components, failing motor bearings, or a damaged fan blade.
- Ice on Refrigerant Lines: If you notice ice forming on the copper lines running to your outdoor unit, this is a major red flag indicating either severe airflow restriction (like a completely blocked filter) or a refrigerant leak.
- Persistent Burning Smells: While a dusty smell is normal for the first few minutes of turning on your heater, a persistent metallic, electrical, or burning odor indicates overheating wires or a failing motor.
- Spikes in Utility Bills: If your spring energy bills are significantly higher than they were during the same period last year without a change in usage, your system is likely working overtime to compensate for an underlying mechanical issue.
How often should air filters be replaced after winter?
In Arizona’s dry, dusty environment, we recommend checking your air filter every 30 days. If you have pets that shed, live near active construction, or suffer from seasonal allergies, you should replace your filter monthly during the peak cooling season. At a bare minimum, standard pleated filters should be replaced every 60 to 90 days to keep your indoor air clean and ensure healthy system airflow.
Conclusion
A thorough post-winter HVAC inspection is the best insurance policy you can buy for your home’s summer comfort. By tackling simple DIY tasks like replacing your air filters, clearing your outdoor condenser unit, and flushing your condensate line, you keep your system running efficiently. By pairing those efforts with a professional tune-up, you protect your system from costly breakdowns and ensure your family breathes clean, safe air.
At CDL Mechanical, we are a family-owned HVAC company based right here in Glendale, AZ. We treat our customers like family, which means we never recommend repairs you don’t need, and we always deliver honest, expert service to keep your home comfortable in the desert heat. Whether you live in Peoria, Surprise, Litchfield Park, or Phoenix, we are here to help you get “summer-ready.”
To take the hassle out of remembering your seasonal maintenance, consider joining our preventative care program. Discover Why Your HVAC System Craves a Service Agreement and explore the benefits of our comprehensive Maintenance Plan.
Don’t wait for the heat to catch you off guard. Schedule your professional air conditioning maintenance today and step into summer with complete peace of mind!